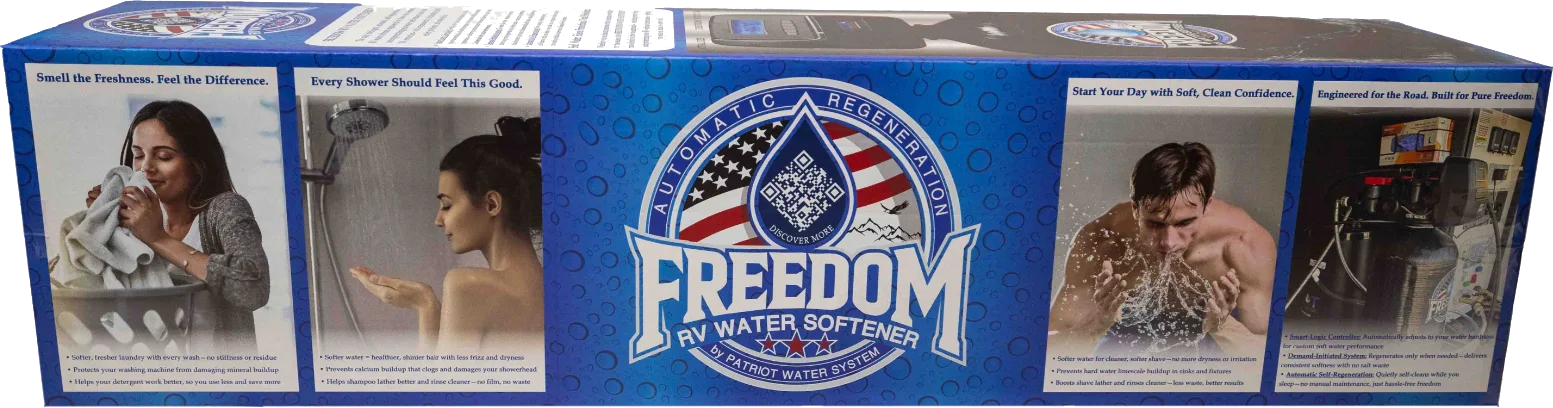
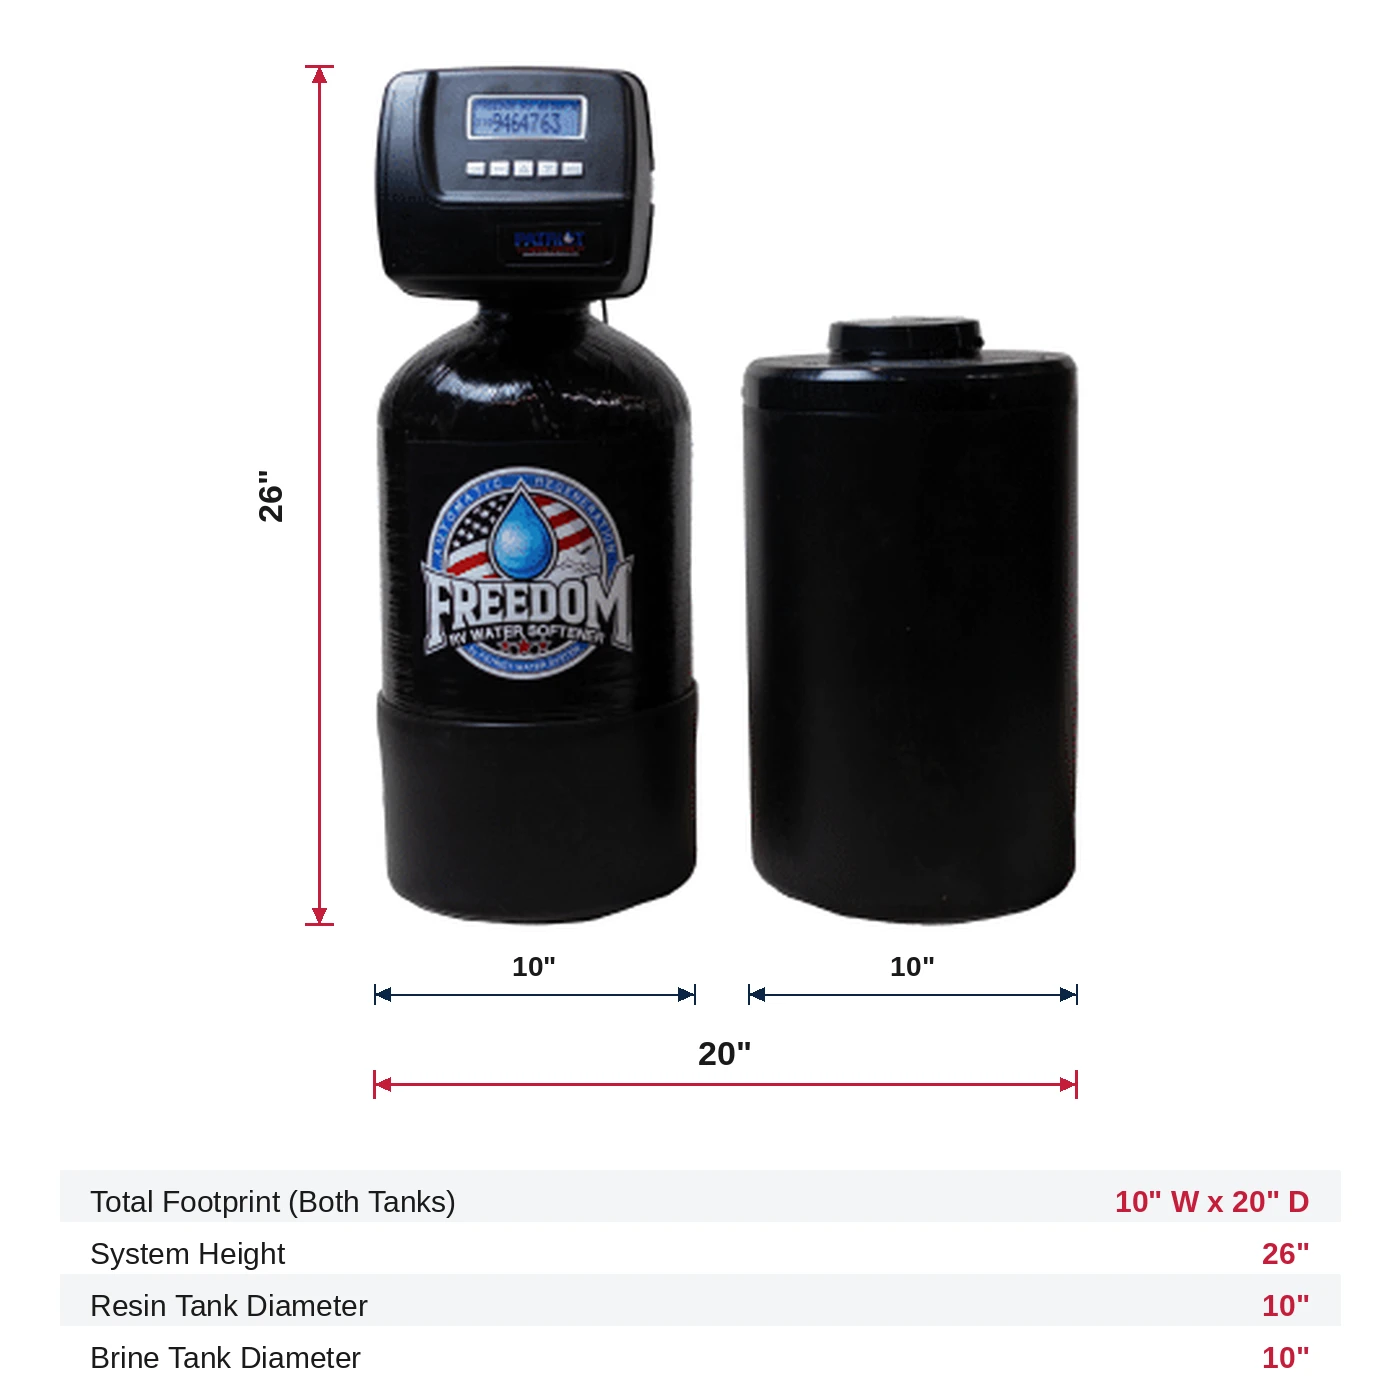
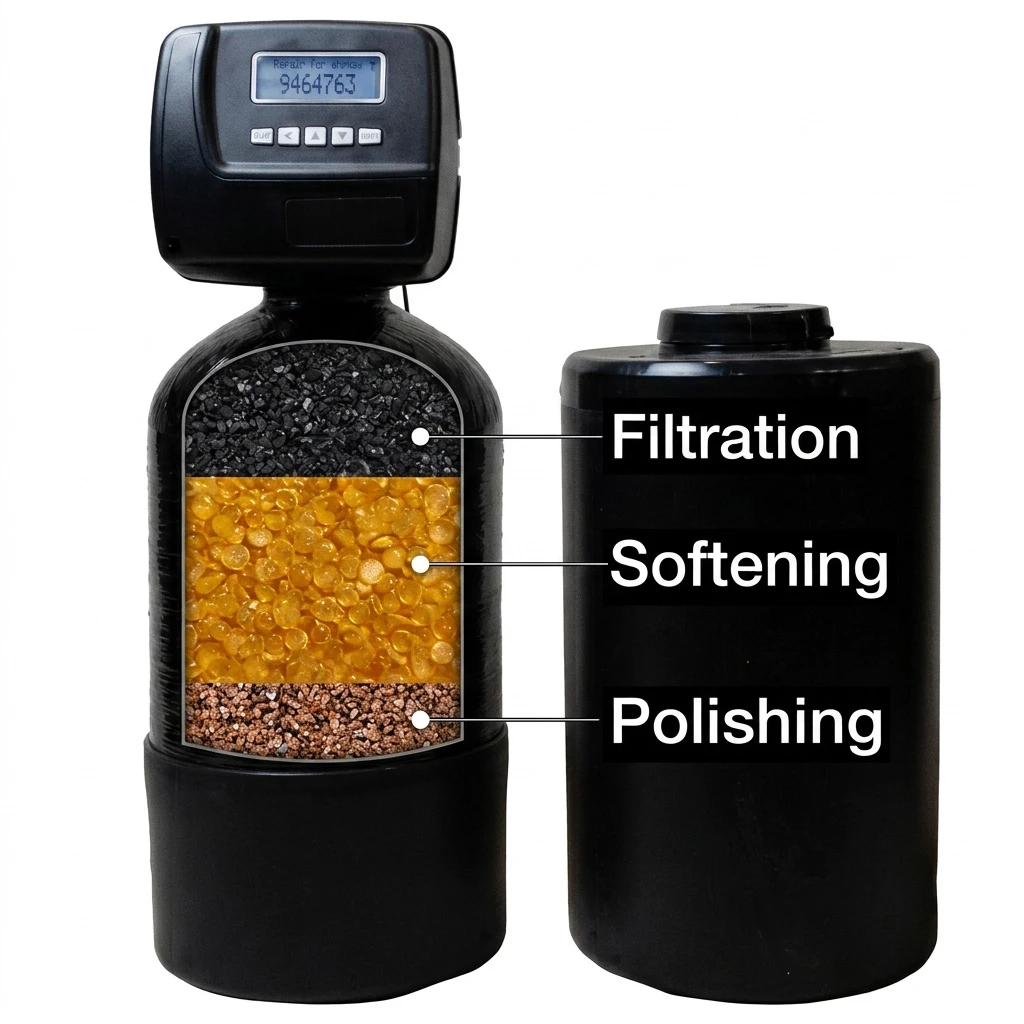
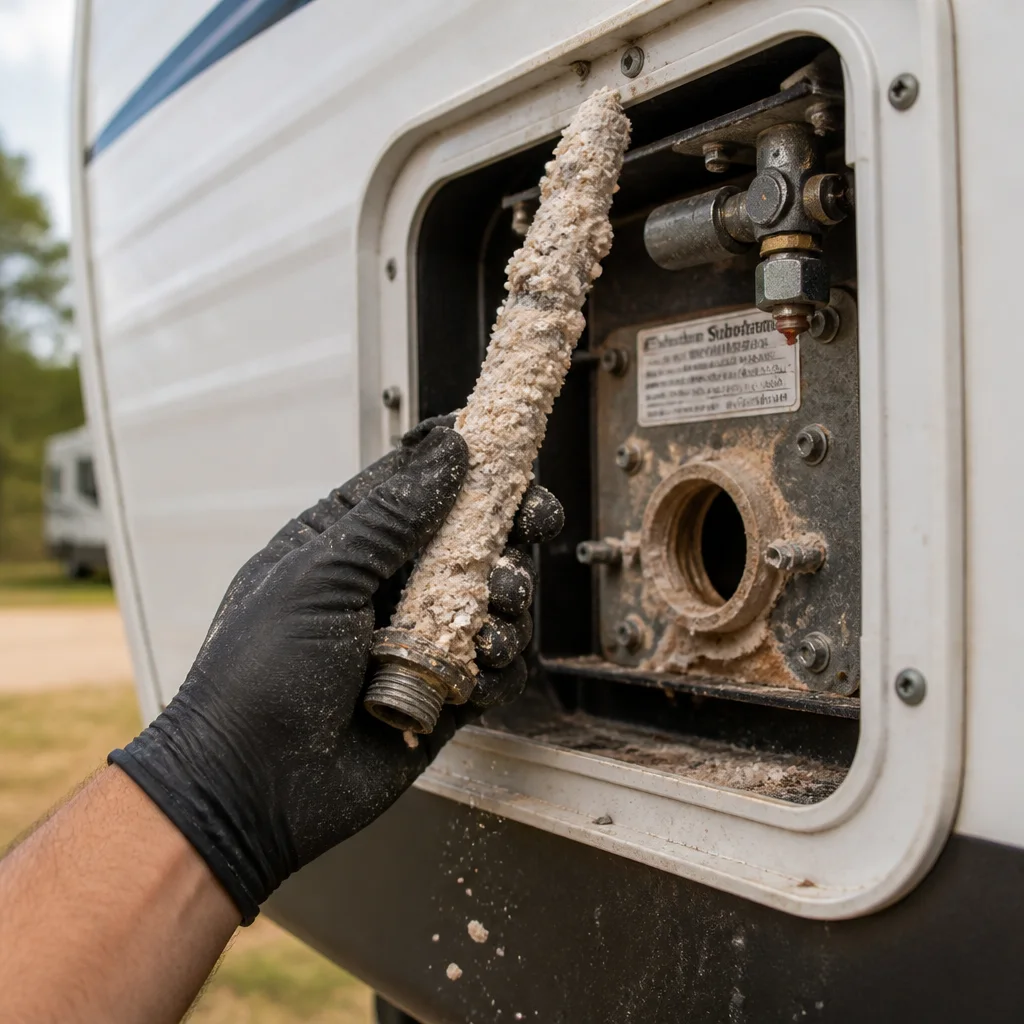
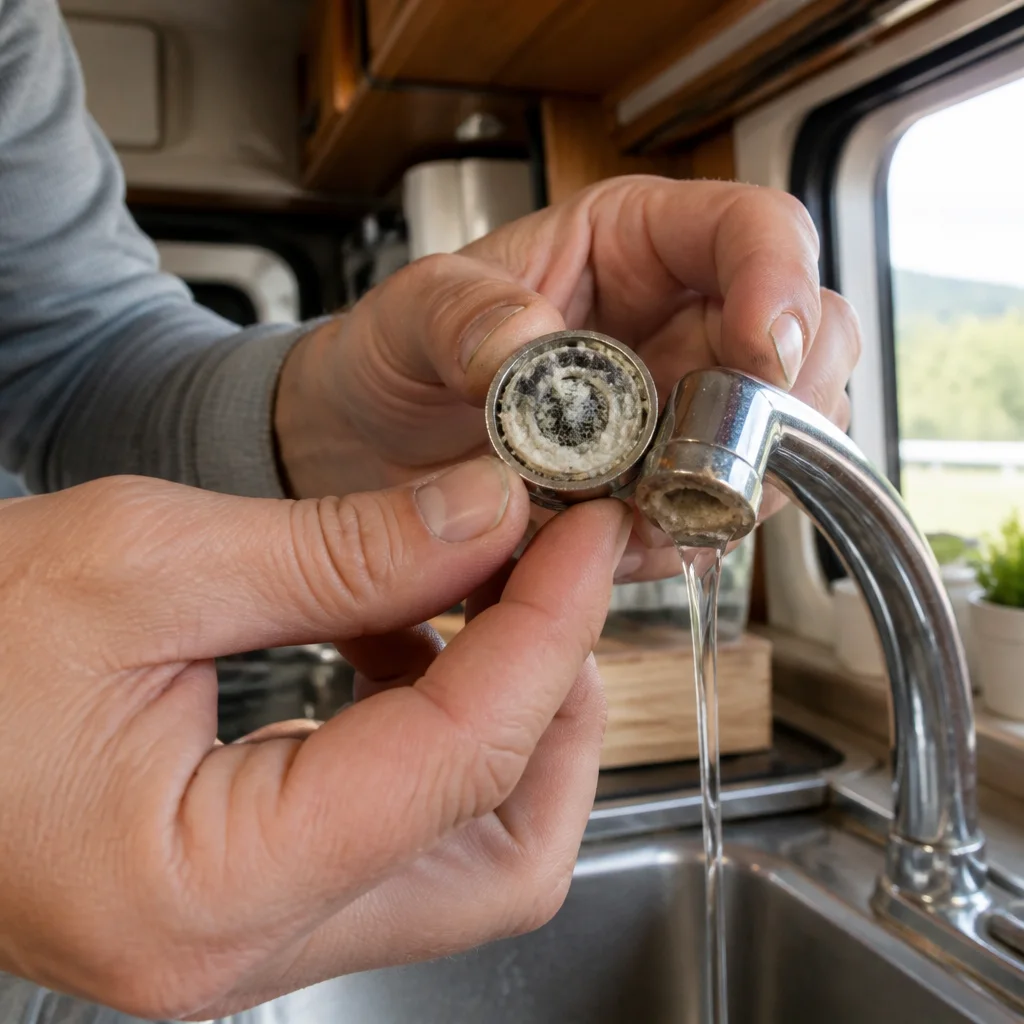
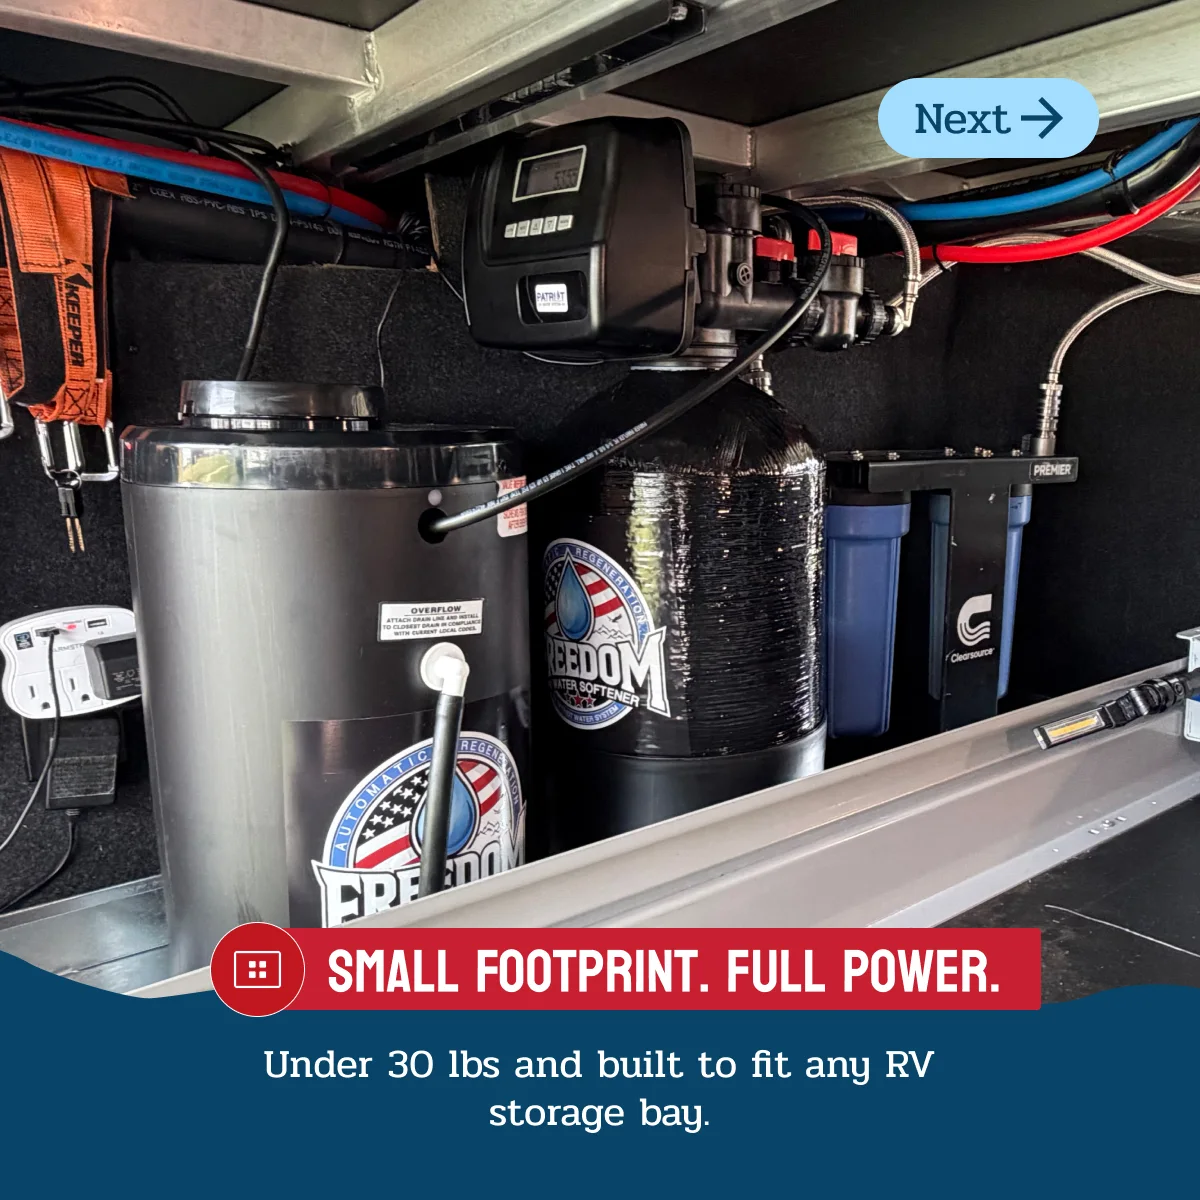
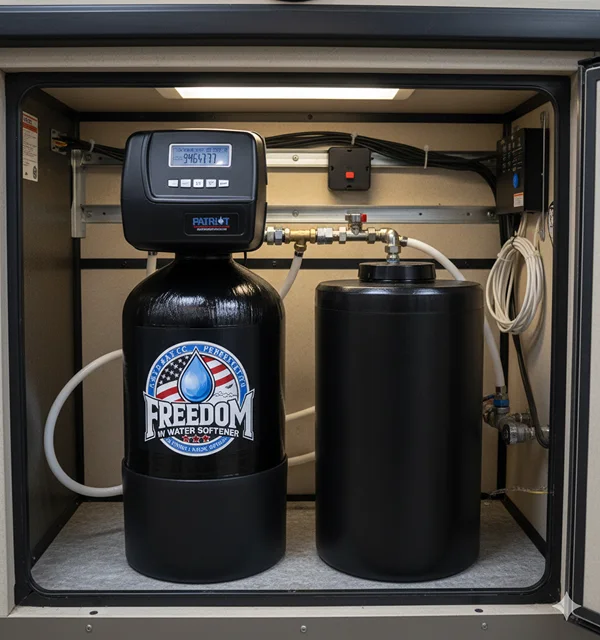
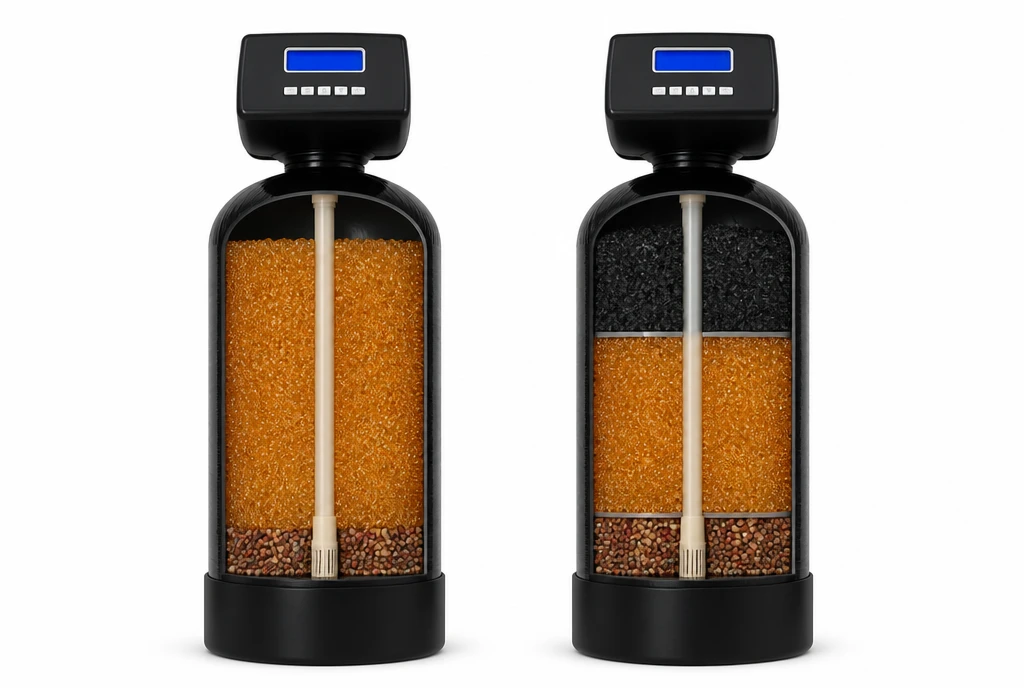
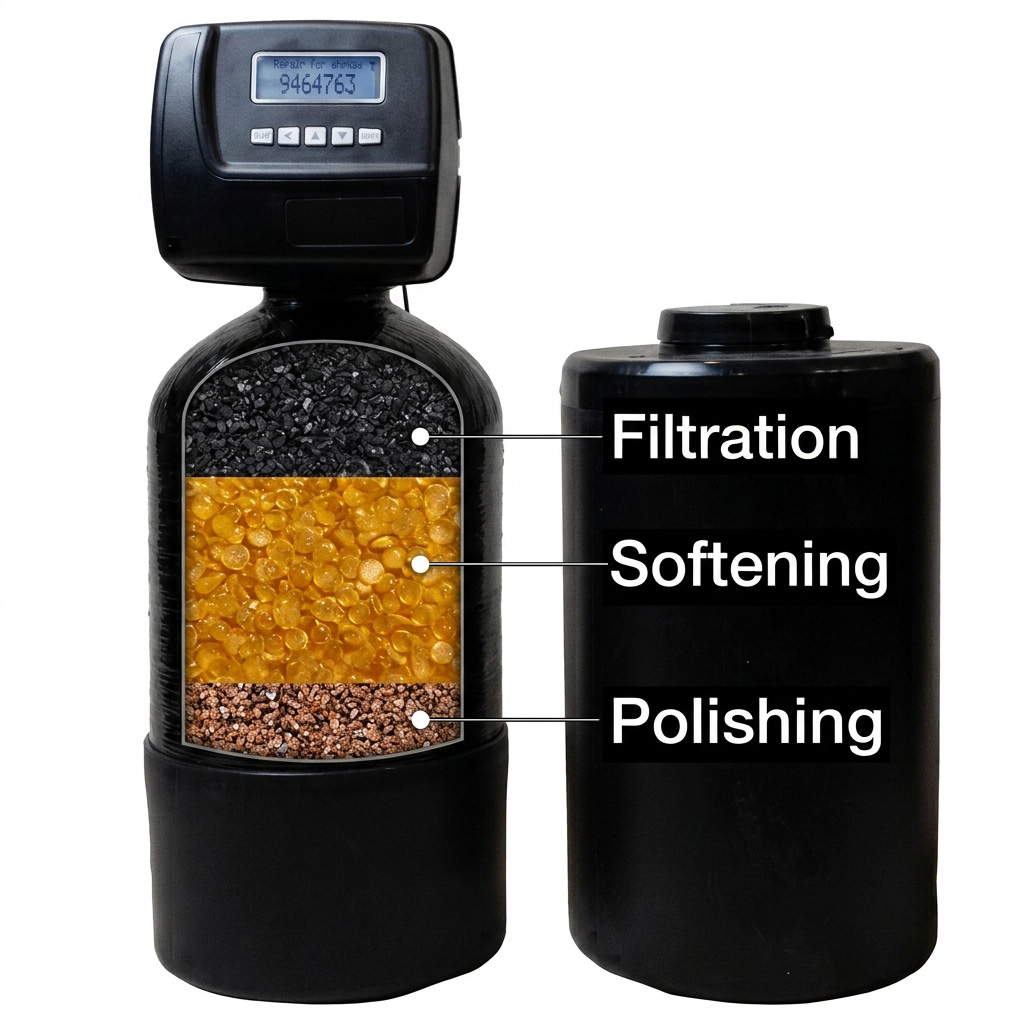
Specifically for RV and fifth-wheel owners, this high-quality system guarantees your RV’s water is pure, soft, and odor-free, protecting your investment from calcium buildup and scale. Enjoy the convenience of a portable, compact design with a user-friendly quick and easy installation and hands-free automatic self-regeneration process, just add salt!
The Freedom System offers durable, efficient performance that enhances the lifetime of your appliances, providing the ultimate level of ease, quality, and overall performance on the road. Whether you’re camping in remote areas or staying at RV parks, our water softener system for RV ensures that you enjoy soft, clean water wherever you go.
Includes a basic install kit (Water Lines & Coupling)
- Hands-Free Self Regeneration: Just add salt every 3 months.
- Convenient Fast Installation: Connect your hose, and you’re ready to go.
- Extended Appliance Lifespan: Protect your expensive investment in your RV’s plumbing
and appliances from the damaging effects of hard water.
- Softens Park Water: Improves water quality by softening hard water directly from RV parks.
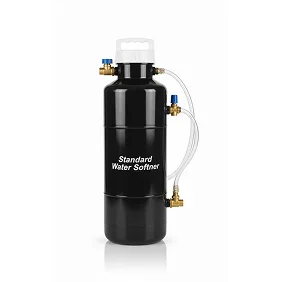
Still unsure? Learn how the Freedom Softener compares to other leading units.
Warranty Coverage
- Computer System & Valve: 5 Years
- Brine Tank & Media Tank: 10 Years
Warranty Documentation
Contact our support team for immediate assistance
Freedom RV Water Softener – Quick-Start Installation
Need help installing?
▶ Watch the video series: Our tech team guides you from unboxing to first regeneration in a set of short, easy-to-follow clips. Start watching.
📲 Swipe through the slideshow: Prefer step-by-step photos you can follow on your phone at the campsite? Open the interactive slideshow.
📄 Keep a printable copy: Download the full Instruction Manual (PDF) for offline reference.
Step 1: Inspect & Prep the Control Head
- Verify inlet/outlet ports and ensure service valves are in the “OFF” position.
Step 2: Install Inlet & Outlet Fittings
- Apply thread sealant or Teflon® tape; hand-tighten, then add a ¼-turn with a wrench.
Step 3: Attach Water Hoses & Drain Line
- Connect hoses without kinks and push the drain hose fully into its port.
Step 4: Connect the Brine Tank
- Insert the brine line into the tank fitting; tug gently to confirm a secure fit.
Step 5: Install & Wire the Electronic Control Board
- Snap the board in place, plug in all harnesses, and replace the cover.
Step 6: Open Valves & Check for Leaks
- Turn both service valves to “ON” slowly, then inspect every joint for moisture.
Step 7: Program & Start Up
- Set the clock, hardness level, and regeneration schedule.
- Fill the brine tank with salt pellets—top up every 6–9 months.
- Your Freedom Softener is now ready for service.